Crash and Burn Loadouts
v2.1.0 meta builds — PHD Crashout, attachments, and ranked loadout routes for solo and co-op.
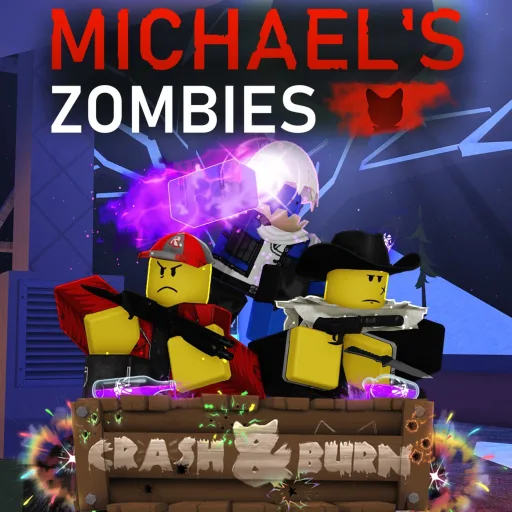
Crash and Burn loadouts define the July 2026 meta in Michael’s Zombies — the Roblox COD Zombies experience with 227.5M+ visits and current version 2.1.0 Crash and Burn. The patch paired PHD Crashout with craftable ammo attachments, reshaping perk priority on every map from One Cabin to public matchmaking staples. This guide documents the three builds that climbed the builds tier list after the update: Trench Explosive, Saiga-12 Fire, and Raygun Co-op Support.
Why v2.1.0 changed loadouts
Before Crash and Burn, explosive routes downed you without careful spacing. PHD Crashout fixes that with explosive immunity and a mid-air slam. Community testing on the patch notes page confirms two stacking bonuses:
- PHD doubles explosive damage from attachment-modded weapons — explosive Trench rounds and grenade splash scale harder than pre-patch.
- Slam damage formula — base 4000 plus 5% per round (e.g. round 20 slam ≈ 5000 AoE before attachment multipliers).
Craft attachments at map stash benches, then route perks around PHD obtainment. Read the dedicated PHD Crashout guide for unlock methods before committing Emeralds to explosive mods.
Build 1 — Trench Explosive (Solo / Duo)
The highest-synergy solo build in v2.1.0. Explosive attachments on the Trench Shotgun pair with PHD immunity so every pellet splash clears doorways without self-down risk.
Weapons: Trench Shotgun PaP + explosive attachment + .357 Magnum backup Perks: Juggernog → Speed Cola → PHD Crashout → Double Tap Route: Open toward PaP on round 12, craft explosive mod at a stash bench, buy PHD on One Cabin or via trick-or-treat. Alternate slams (C mid-air on PC) with shotgun bursts in tight lanes.
Best on semi-open maps. Cramped layouts drop this build one tier — see builds tier list map notes.
Build 2 — Saiga-12 Fire (Solo Tank)
Fire attachments turned the Saiga-12 into the round-30 workhorse for players who prefer automatic pressure over slam timing. PHD is optional here — fire DoT does not self-down you — but add PHD if you carry grenades.
Weapons: Saiga-12 PaP + fire attachment + Walther P99 or box secondary Perks: Juggernog → Speed Cola → Double Tap → Mule Kick Route: Courtyard training on The Giant, PaP after round 12, attach fire mod from stash loot or Emerald shop. Hold spawn trains; fire ticks finish runners Double Tap misses.
This build bridges beginner and expert — lowest skill floor among S-tier routes on the builds tier list.
Build 3 — Raygun Co-op Support (3–4P)
Raygun splash clears hordes while a Saiga or Trench holder opens doors and buys perks. PHD on the Raygun carrier prevents splash self-downs; Quick Revive on teammates keeps box rolls alive.
Weapons: Raygun PaP + Saiga-12 or Trench Shotgun secondary Perks: Juggernog → Quick Revive → Speed Cola → Double Tap (PHD on Raygun player when available) Route: One player rolls Mystery Box for Raygun while others hold doors on Hallows Eve or Lighthouse. Raygun player kites rear; shotgun player slams or fire-clears choke points.
Assign roles before round 5 — wasted box spins bankrupt co-op teams past round 15.
Loadout comparison
| Build | Best mode | Key synergy | Round ceiling |
|---|---|---|---|
| Trench Explosive | Solo / Duo | PHD doubles explosive attachment damage | 30–40 |
| Saiga-12 Fire | Solo | Fire DoT + Double Tap | 25–35 |
| Raygun Support | 3–4P co-op | Splash + Quick Revive revives | 20–30 team |
Recommended perk buy order
Explosive route (Trench): Juggernog → Speed Cola → PHD Crashout → Double Tap
Fire route (Saiga): Juggernog → Speed Cola → Double Tap → Mule Kick
Co-op route (Raygun): Juggernog → Quick Revive → Speed Cola → Double Tap
Skip Stamin-Up until round 20+ unless kiting open maps. Cross-reference individual rankings on the perks tier list.
Attachment crafting tips
- Prioritize stash benches — hidden stashes on select maps drop attachment materials faster than Emerald-only buys.
- Match mod to weapon — explosive on Trench, fire on Saiga-12; mismatched mods waste craft slots.
- PaP before attach — Pack-a-Punch first, then mod; reversing order costs extra bench trips.
- Test on private servers —
set_round 10via admin commands validates slam + attachment combos without public lobby pressure.
Related pages
- Crash and Burn 2.1.0 patch notes — full feature list
- PHD Crashout guide — slam controls and unlock routes
- Attachments catalog — mod types and crafting costs
- Builds tier list — ranked loadout comparisons
- One Cabin map — PHD machine and tight-space testing
- High-round survival — training paths for round 30+
Frequently Asked Questions
Quick answers to the most common questions.
What is the best Crash and Burn loadout for solo?
Trench Explosive with PHD Crashout and explosive attachments is the top solo build — PHD doubles explosive damage and slam immunity keeps you alive in tight spaces.
Does PHD Crashout double attachment explosive damage?
Yes. Community testing confirms PHD doubles explosive damage from attachment-modded weapons in v2.1.0, stacking with the 4000 + 5% per round slam formula.
Saiga-12 fire or Trench Explosive — which is easier?
Saiga-12 Fire has a lower skill floor — automatic fire DoT without slam timing. Trench Explosive hits harder but requires PHD routing and mid-air slam practice.
How does Raygun co-op support work?
One player carries Raygun PaP for horde clear while teammates run Quick Revive and door control. PHD on the Raygun player prevents splash self-downs during box-roll phases.